


.png)
Mastering the 6 Steps of the Design Process for Your Los Angeles Business
- Jan 2
- 18 min read
Updated: Feb 9
In today's competitive market, a powerful website or marketing campaign doesn't happen by accident. It's the result of a deliberate, user-focused strategy. For businesses across Los Angeles, from the bustling streets of Hollywood to the serene shores of Malibu, understanding the core framework for creating effective digital experiences is non-negotiable. This structured approach ensures that every decision, from initial concept to final launch, is grounded in real user needs and clear business objectives, preventing wasted resources on solutions that miss the mark.
This guide demystifies the 6 steps of the design process, a proven methodology used by top agencies to transform business goals into tangible results. We'll break down each stage with actionable insights and practical examples tailored for local businesses. Whether you're a service provider in the San Fernando Valley looking to attract more clients, a retail shop in Santa Monica aiming to boost online sales, or a professional practice in Beverly Hills needing to refine your digital presence, this framework is your blueprint for success.
Following a defined process is crucial for any project, from developing a new website to launching a full-scale digital product. For a comprehensive guide on navigating the entire journey from a nascent idea to a market-ready application, exploring resources that detail each stage can be invaluable. This article focuses specifically on the design thinking framework, but for those with app-specific goals, a detailed roadmap on how to build a mobile app from idea to launch provides a parallel, in-depth perspective on product development.
Los Angeles is at the center of our service area, and we proudly support clients across a wide network of surrounding cities and neighborhoods throughout Southern California. Our reach includes every corner of L.A.—from Downtown Los Angeles, Hollywood, West Hollywood, Beverly Hills, and Santa Monica to the beach communities of Malibu, Venice, Marina del Rey, Hermosa Beach, Manhattan Beach, and Redondo Beach. We also extend service through the San Fernando Valley, including Sherman Oaks, Studio City, Encino, Van Nuys, North Hollywood, Burbank, Glendale, Pasadena, Woodland Hills, Chatsworth, Canoga Park, Reseda, Northridge, and Tarzana. Let's explore how these six steps can turn your vision into a high-performing digital asset that resonates with your target audience and drives growth.
1. Step 1: Empathize – Understanding User Needs and Business Goals
The first and most critical of the 6 steps of the design process is to empathize. Before a single pixel is placed or a line of code is written, a successful project begins with a deep, authentic understanding of the people you are trying to reach. This foundational stage, pioneered by organizations like IDEO and Stanford's d.school, is about immersing your team in the user’s world to uncover their true needs, motivations, and frustrations. It’s the difference between building a product you think people want and creating a solution they genuinely need.
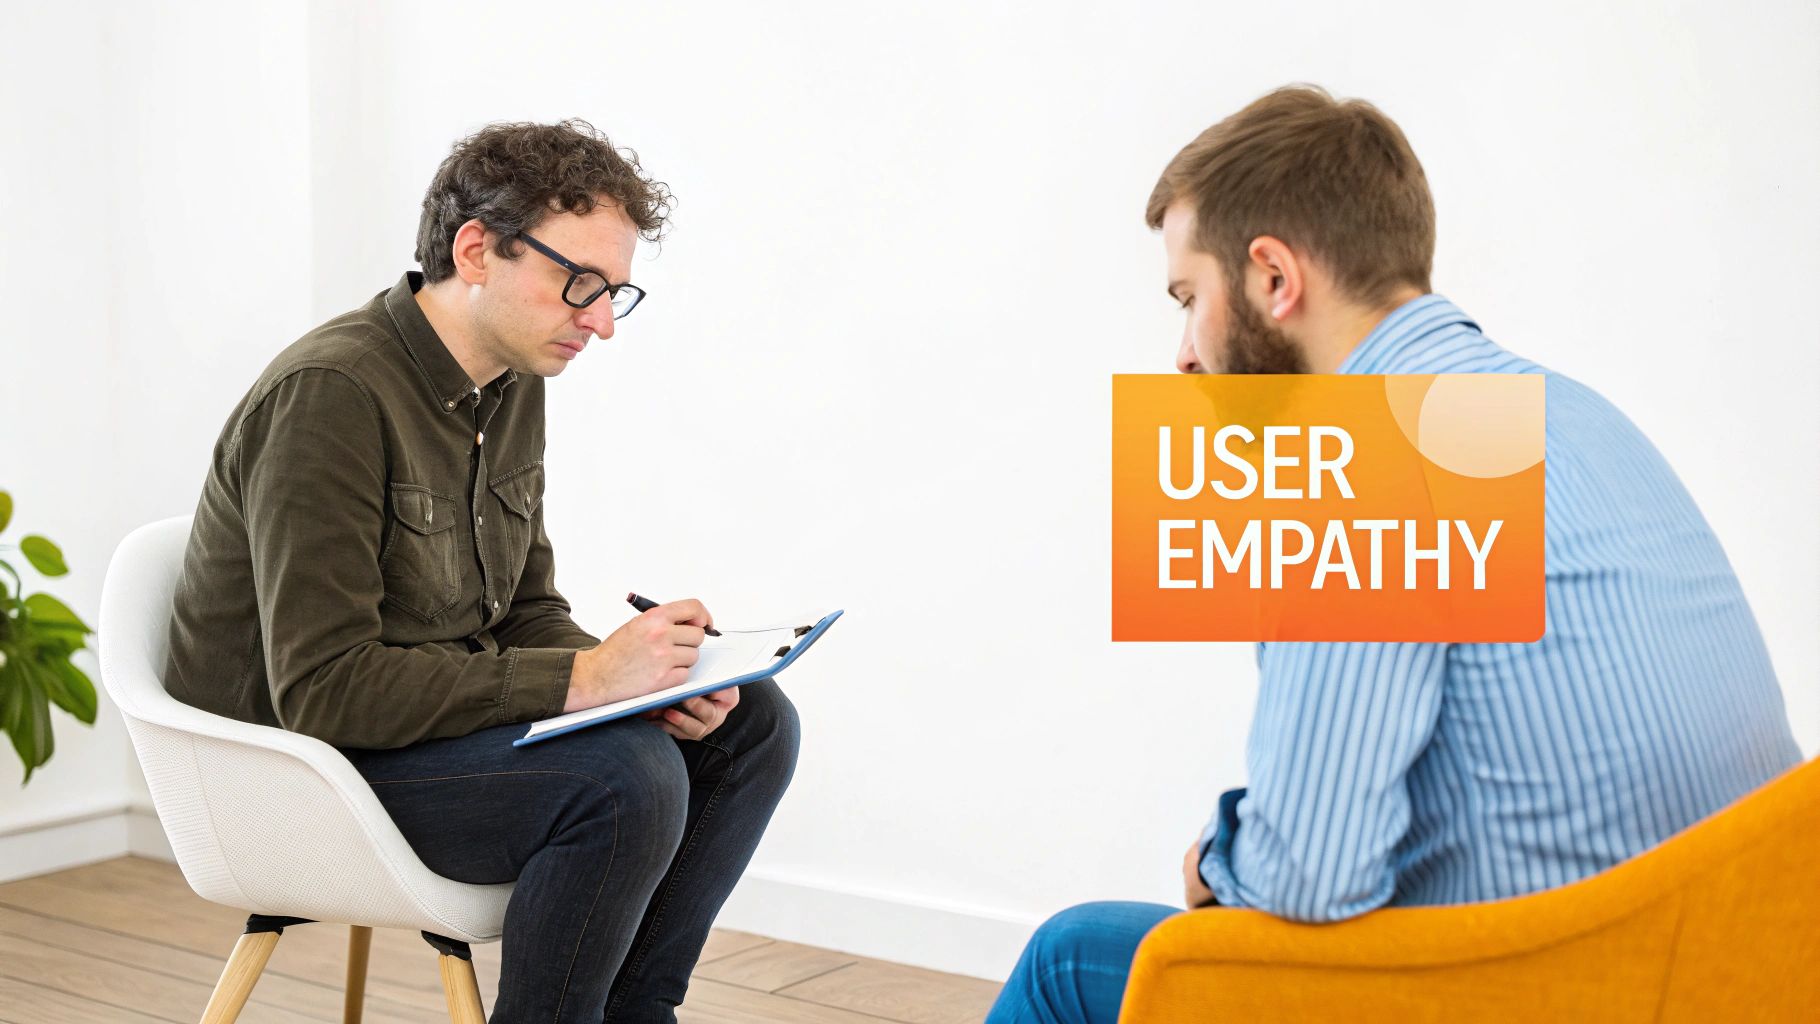
Empathy goes beyond simple market research; it involves gathering qualitative insights to align business objectives with real user expectations. For a small business, this means moving past assumptions and connecting directly with your community.
Practical Application: Empathy in Action
Let’s see how this plays out for different businesses:
For a Dental Practice in Studio City: The goal isn't just to "get more patients." The empathy phase involves interviewing local residents to understand their anxieties about dental visits, what they look for when searching online (e.g., "emergency dentist near me," "family-friendly orthodontist"), and how they evaluate a practice's trustworthiness from its website. This insight directly informs website content, service descriptions, and local SEO strategy.
For an E-commerce Retailer: High traffic but low sales? Empathy means digging into the why. By analyzing user session recordings and conducting interviews, you might discover customers feel the checkout process requires too much personal information or shipping costs are a surprise. A crucial part of empathizing is identifying these pain points. For e-commerce, this often means understanding why shoppers abandon their carts, which is the first step toward crafting effective solutions. You can read more about powerful strategies to reduce cart abandonment and boost sales.
For a Law Firm in Downtown Los Angeles: A firm might assume clients want a website that looks prestigious. However, empathy research could reveal that potential clients are actually intimidated and overwhelmed. They truly value clear, accessible language that explains complex legal processes in a straightforward way, making empathy a cornerstone of building trust and generating leads.
Actionable Tips for the Empathize Phase
To make this step effective, focus on structured, hands-on research:
Conduct 5-8 User Interviews: Talk to real customers and prospects. Ask open-ended questions about their challenges and goals related to your industry. This small sample size is often enough to reveal significant patterns.
Create 2-3 User Personas: Synthesize your research into detailed personas. These fictional characters, based on real data, represent your primary audience segments and help keep your team user-focused.
Analyze Existing Data: Use Google Analytics or other tools to identify user behavior on your current site. Where do they drop off? What pages do they visit most? This quantitative data provides context for your qualitative findings.
Prioritize Accessibility: True empathy involves understanding the needs of all users, including those with disabilities. Integrating website accessibility best practices from the start ensures your digital presence is inclusive and welcoming to everyone.
Key Insight: The Empathize phase isn't a one-time checklist item; it's a mindset that should permeate the entire design process. Every subsequent decision in ideation, prototyping, and testing should circle back to the core user needs you uncovered here.
2. Step 2: Define – Creating Clear Problem Statements and Project Scope
After immersing yourself in the user’s world, the second step in the design process is to Define. This crucial stage is all about synthesis; it’s where you transform the raw, qualitative insights gathered during the Empathy phase into a clear, actionable problem statement. This statement becomes the North Star for the entire project, ensuring that every design decision directly addresses a core user need and aligns with specific business objectives.
Popularized by frameworks like IDEO's Design Thinking and Lean UX, the Define phase prevents wasted effort by focusing the team on solving the right problem. For a small business, this means moving from a vague goal like "we need a better website" to a focused mission that guides design, development, and content creation. It’s the bridge between understanding user pain points and creating effective solutions.
Practical Application: Defining in Action
Let’s see how this plays out for different businesses:
For a Dental Practice in Studio City: After the Empathy phase revealed patient anxiety about booking, the problem isn't just a lack of appointments. The defined problem statement becomes: "Busy local families need a quick, transparent way to view available appointment times and book online without making a phone call, because their schedules are tight and they value convenience." This immediately points to a solution involving an integrated online booking system.
For a Restaurant in Glendale: The owner wants to increase online orders. The Define phase refines this goal into a specific, measurable challenge: "Our regular customers need a mobile-friendly online ordering process that saves their past orders and payment details to reduce friction, because the current system is clunky and causes them to abandon their carts." This defines success as improved user experience leading to a 25% increase in completed online orders.
For a Construction Company in Torrance: The business knows its portfolio isn't effective. Defining the problem clarifies why: "Potential high-value clients cannot easily visualize the quality and scale of our completed projects on our website, because the images are low-resolution and not organized by project type (e.g., commercial, residential)." This informs a redesign focused on a high-impact visual gallery and clear case studies.
Actionable Tips for the Define Phase
To make this step effective, focus on clarity, alignment, and documentation:
Use the "How Might We" Framework: Reframe your problem statements as opportunities. For example, "Patients can't find our availability" becomes "How might we make our appointment schedule instantly accessible online?" This fosters creative, solution-oriented thinking.
Define 3-5 Primary Success Metrics: Establish clear KPIs. These should include both business goals (e.g., 20% increase in lead form submissions) and user experience metrics (e.g., reduce bounce rate on service pages by 15%).
Create a Scope Document: This critical document outlines project goals, deliverables, features, and constraints (budget, timeline, technical limitations). It ensures all stakeholders, from your team to the client, are perfectly aligned. Clients should sign off on this before any design work begins to prevent scope creep. Getting these fundamentals right is just as important as including the 10 essential parts of a website every business needs.
Document All Constraints: Be upfront about limitations. This includes the client’s budget, technical restrictions of their current platform, brand guidelines that must be followed, and a realistic project timeline.
Key Insight: A well-crafted problem statement is the most powerful tool in the design process. It provides clarity, aligns the team, and acts as a constant reference point to ensure the final product solves a real, validated need for both the user and the business.
3. Step 3: Ideate – Generating Creative Solutions and Design Concepts
The third of the 6 steps of the design process is to ideate. With a clear problem statement defined in the previous phase, the ideation stage is where creativity and strategic thinking converge. This is a judgment-free zone dedicated to generating a wide range of potential solutions. Pioneered by creative problem-solving experts like Alex Osborn and design thinking leaders at IDEO, this phase champions quantity over quality initially, encouraging divergent thinking to explore every possible angle.
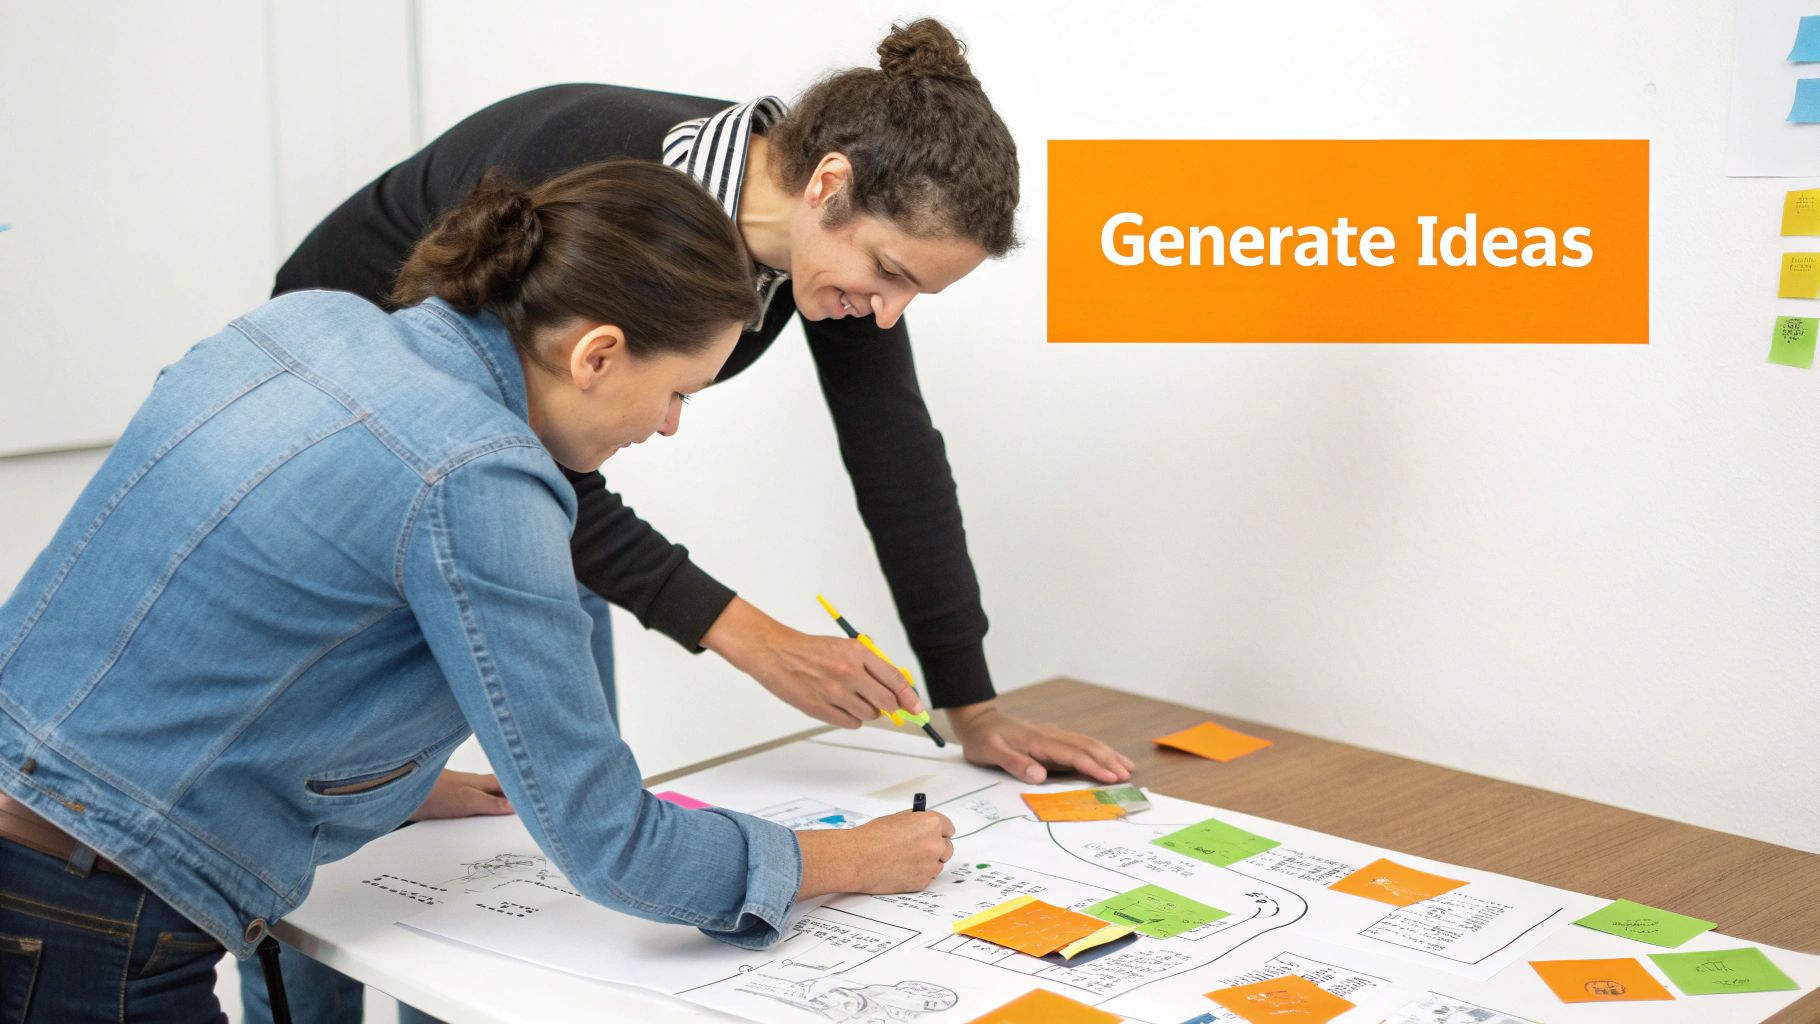
Ideation is not about finding the single "correct" answer right away. Instead, it’s about building a robust pool of ideas from which the strongest, most viable solutions can be selected for prototyping. For a business, this ensures the final design is the result of comprehensive exploration, not just the first idea that came to mind.
Practical Application: Ideation in Action
Let's see how this plays out for different businesses:
For an E-commerce Retailer: To combat cart abandonment, the team might brainstorm multiple checkout flow variations. Ideas could range from a one-page express checkout for returning customers, a guest checkout option with minimal fields, or a multi-step process that clearly shows progress. Each idea directly addresses the user pain points identified earlier.
For a Healthcare Practice in Glendale: Building patient trust is key. An ideation session could generate various content presentation methods. The team might sketch out concepts for a "Meet the Doctor" video series, an interactive FAQ section addressing common patient fears, or a blog showcasing patient success stories. This helps them explore different ways to communicate empathy and expertise.
For a Startup in Santa Monica: Before committing to a brand direction, the team can explore various visual identities. This involves brainstorming different logo concepts, color palettes, and typographic styles that reflect different brand personalities like "innovative and tech-forward" or "approachable and community-focused." This exploration prevents costly rebranding down the line.
Actionable Tips for the Ideate Phase
To make this step effective, focus on structured, collaborative brainstorming:
Set a Time Limit: Keep brainstorming sessions focused and high-energy by setting a timer for 45-60 minutes. This encourages rapid idea generation and prevents over-analysis.
Use Proven Brainstorming Techniques: Methods like "Crazy 8s" (sketching eight ideas in eight minutes) or the "Six Thinking Hats" can help your team explore problems from multiple perspectives, leading to more innovative solutions.
Prioritize Quantity, Then Quality: The initial goal is to generate as many ideas as possible. Encourage wild ideas and defer all judgment and criticism until after the brainstorming session is complete.
Involve a Diverse Team: Include people from different roles: designers, developers, marketers, and even the client. A marketing strategist working with businesses from Burbank to Beverly Hills will have different insights than a developer focused on user experience.
Create Low-Fidelity Sketches: Quickly visualize ideas using simple sketches or wireframes. This keeps the focus on the concept itself rather than on polished visuals, making it easier to iterate and discard ideas that don't work.
Evaluate Against Success Metrics: Once you have a large pool of ideas, filter them through the success metrics and user needs defined in the previous steps to identify the most promising concepts to move forward with.
Key Insight: The Ideate phase is a bridge between understanding the problem and building the solution. It is the engine of innovation in the design process, ensuring that the final product is not just functional but also creative, thoughtful, and perfectly aligned with user needs.
4. Step 4: Prototype – Building Testable Models and Interactive Designs
The fourth of the 6 steps of the design process is to prototype. This is where abstract ideas and wireframes transform into tangible, interactive models. Prototyping is the crucial step of building a functional simulation of your product, allowing your team and real users to click, tap, and interact with the design before any significant development resources are committed. Popularized by innovation leaders like IDEO and streamlined in frameworks like Google's Design Sprint, this phase is about learning quickly and failing cheaply.
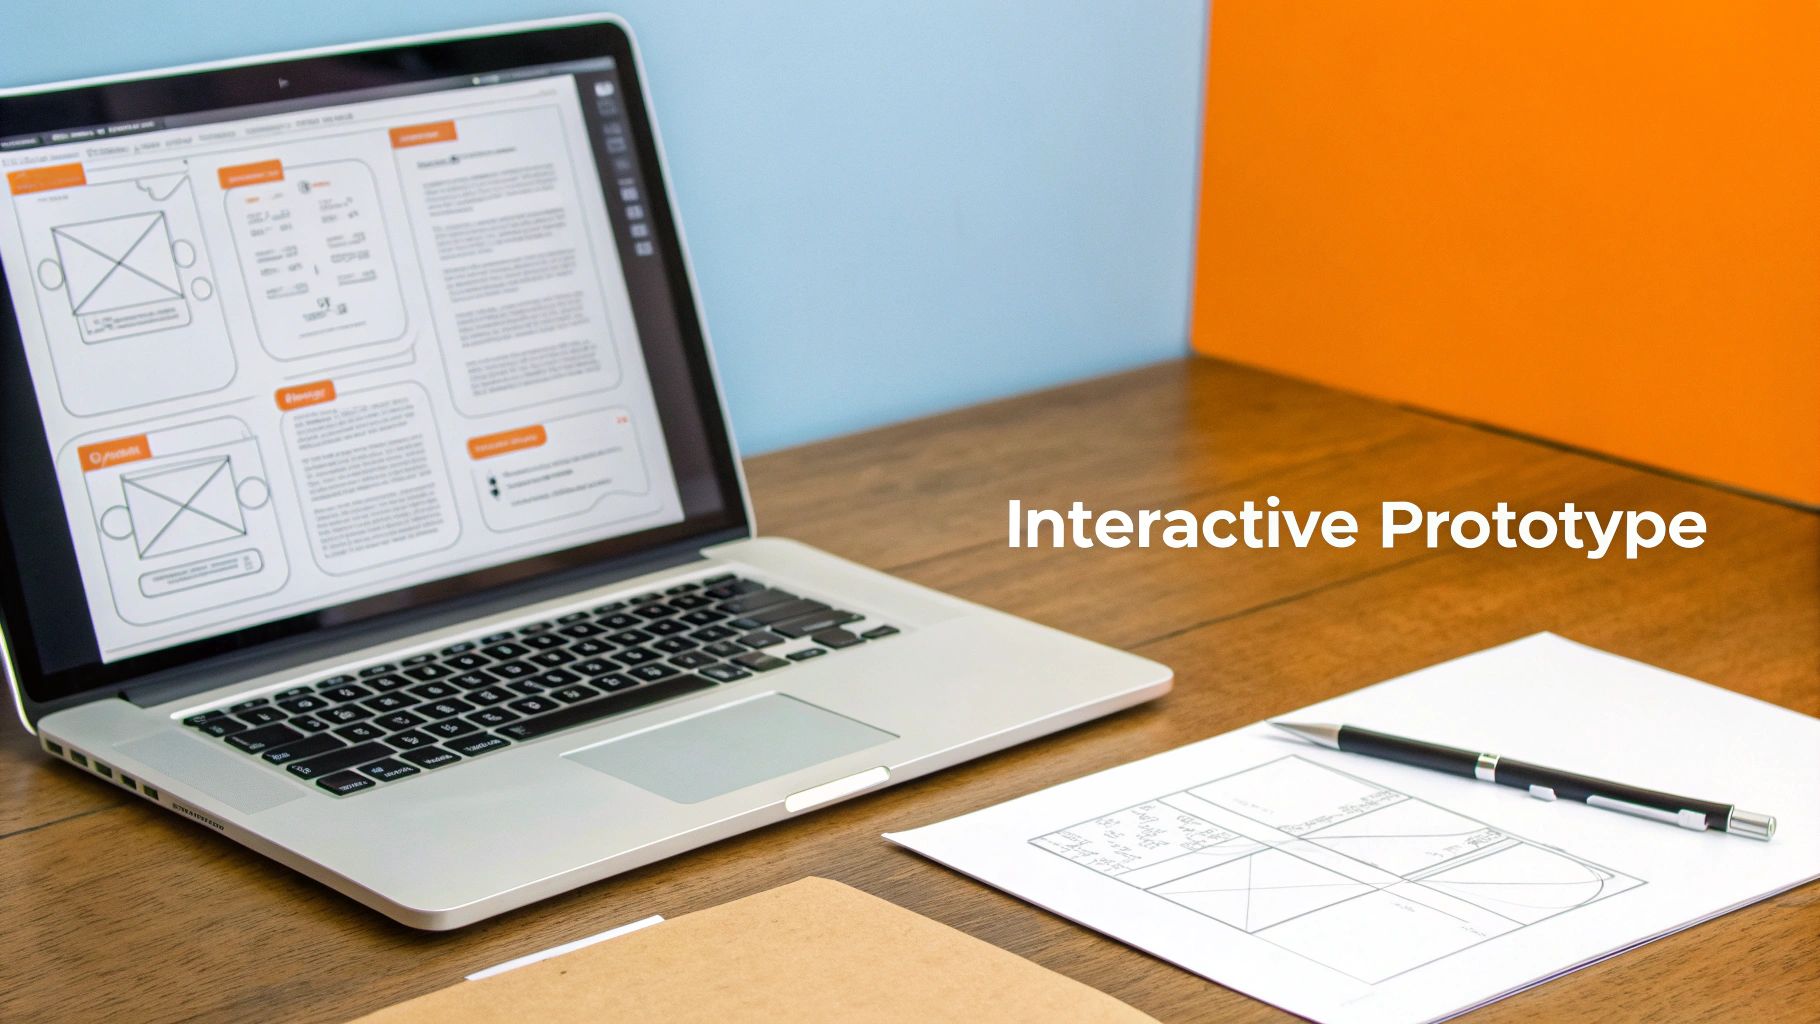
A prototype can range from a simple clickable wireframe to a highly detailed interactive model that feels like the final product. For any business, from a local restaurant in Studio City to a professional service provider in Downtown Los Angeles, this step bridges the gap between concept and reality, ensuring the final product is both usable and valuable. It is the best way to validate assumptions and refine solutions before the costly development phase begins.
Practical Application: Prototyping in Action
Here’s how prototyping provides critical insights for different businesses:
For an E-commerce Retailer: Before building a new mobile checkout flow, an interactive prototype is created in Figma. Testing this prototype with users might reveal that the "Apply Coupon" button is hard to find on smaller screens or that the guest checkout option is unclear. Fixing these issues in the prototype takes hours, not weeks, saving significant development costs and preventing lost sales.
For a Healthcare Practice in Beverly Hills: A clinic wants to launch a new online appointment booking system. A prototype allows them to test the entire user journey: from selecting a service and a doctor to choosing a time slot and confirming the appointment. This early testing can uncover points of friction that might otherwise lead to abandoned bookings and frustrated patients.
For a Restaurant in Santa Monica: To improve online orders, a prototype of the new menu and ordering interface is tested. This helps confirm that menu categories are intuitive, customization options are clear, and the payment process is seamless. It ensures the final design directly addresses customer needs, leading to a better user experience and more online revenue.
Actionable Tips for the Prototype Phase
To build effective prototypes that yield clear insights, follow these practical steps:
Start with Low-Fidelity: Begin with grayscale, clickable wireframes to test the core structure, flow, and functionality. This keeps feedback focused on usability, not visual aesthetics.
Use Modern Prototyping Tools: Platforms like Figma, Webflow, or Wix Studio allow you to create high-fidelity prototypes that mimic the final product's look and feel, enabling more realistic user testing.
Test on Real Devices: Don't just resize a browser window. Test your prototypes on actual mobile phones and tablets to identify touch-target issues and evaluate responsive behavior accurately.
Prioritize Critical User Paths: Focus your initial prototyping efforts on the most important user journeys, such as the checkout process, form submissions, or appointment booking flows.
Test for Accessibility Early: Build your prototype with accessibility in mind. Test for keyboard navigation and screen reader compatibility to ensure your design is inclusive from the start, following key ADA compliance principles.
Key Insight: A prototype is a question embodied in a design. Its primary purpose isn’t to be perfect but to generate feedback. Each interaction and piece of user feedback during this stage helps de-risk the project, ensuring the final product is built on a foundation of validated user understanding.
5. Step 5: Test – Validating Solutions with Users and Gathering Feedback
The fifth step in the design process is to test. This is where your carefully crafted prototype moves from an internal concept to a real-world evaluation. Testing involves putting your design in front of actual users to see how they interact with it, gathering their feedback, and identifying usability problems before you invest in full-scale development. Pioneered by usability experts like the Nielsen Norman Group, this stage is a crucial reality check that validates your assumptions and ensures your solution truly works for its intended audience.
Testing isn't about asking people if they like the design; it’s about observing whether they can use it effectively, efficiently, and with satisfaction. For a small business, this feedback loop is invaluable for preventing costly mistakes and building a digital product that drives real results, from increased conversions to better patient engagement.
Practical Application: Testing in Action
Let's explore how the testing phase translates into tangible outcomes for different businesses:
For an E-commerce Retailer: To optimize conversions, you could A/B test two different product page layouts. One might feature large lifestyle images, while the other prioritizes detailed product specifications. By tracking which version leads to more "Add to Cart" clicks and completed purchases, you make data-driven decisions that directly boost revenue.
For a Dental Practice in Studio City: Before launching a new website, the practice could test its new online appointment booking flow. By observing a few local users trying to schedule a cleaning, they might discover a confusing step or a button that’s hard to find. Fixing this pre-launch ensures a seamless experience for new patients in neighborhoods from North Hollywood to Sherman Oaks.
For a Law Firm in Downtown Los Angeles: The firm wants to know if its redesigned "Case Studies" section is effective. During testing, they can ask potential clients to find information about a specific legal victory. Observing their journey reveals whether the navigation is intuitive and if the content is compelling enough to build trust and encourage them to make contact.
Actionable Tips for the Test Phase
To get meaningful results, approach testing with a clear plan:
Recruit 5-8 Target Users: Research shows that testing with a small group of 5-8 users from your actual target audience is enough to uncover about 85% of usability issues. Testing with more yields diminishing returns.
Focus on Critical Tasks: Prioritize testing the most important user flows. For a restaurant in Santa Monica, this would be viewing the menu and making a reservation. For a professional service, it's finding service details and filling out a contact form.
Use Remote Testing Tools: Platforms like UserTesting or Maze offer unmoderated remote testing, which is a fast and cost-effective way to get feedback from users in their natural environment.
Ask Open-Ended Questions: Avoid leading questions like "Was that button easy to find?" Instead, ask, "What are your thoughts on this page?" or "Tell me what you would do next to achieve your goal."
Test on Mobile Devices: A significant portion of your traffic will come from mobile users. Ensure your design is tested on various screen sizes to guarantee a responsive and functional experience for everyone.
Key Insight: Testing is not a final exam to pass or fail; it's a diagnostic tool. The goal is to learn what isn't working so you can fix it. Embracing critical feedback at this stage is what separates good designs from great ones that deliver business value.
6. Step 6: Implement & Iterate – Launching Solutions and Ongoing Optimization
The final of the 6 steps of the design process is to implement and iterate. This is where the validated design transforms from a prototype into a live, functional product. But the process doesn't end at launch; in fact, the launch is just the beginning. This stage, heavily influenced by Agile and Lean methodologies, is about getting the solution into the hands of real users, monitoring its performance, and committing to a cycle of continuous improvement. It’s the transition from a design project to a living business asset.
Implementation involves the technical development, quality assurance testing, and deployment of the website or application. Iteration is the ongoing process of gathering data, analyzing user feedback, and making incremental enhancements to optimize performance, usability, and business impact. For a small business, this ensures your digital investment continues to deliver value long after the initial build.
Practical Application: Implementation & Iteration in Action
Let's see how this continuous cycle works for different businesses:
For an E-commerce Retailer in the San Fernando Valley: After launching a new Shopify site, the work shifts to optimization. The retailer monitors key metrics like conversion rates and add-to-cart percentages. By analyzing heatmaps, they might discover users aren't noticing a key product feature. The iteration would be an A/B test of a new product page layout to see if it improves engagement and sales.
For a Dental Practice in Studio City: A newly launched website with an online booking system goes live. In the first month, the practice team notices that many users start the booking process but don't complete it. The iteration involves gathering patient feedback, simplifying the form fields, and adding clearer calls-to-action, directly addressing the friction point and increasing completed appointments.
For a Restaurant in Downtown Los Angeles: A restaurant launches its new website. The iteration cycle includes monitoring which menu items are viewed most, testing different promotional banner placements for weekly specials, and ensuring online ordering is seamless. As customer behavior changes, the website is continually updated to match, keeping it relevant and effective.
Actionable Tips for the Implement & Iterate Phase
To ensure a smooth launch and a successful ongoing strategy, focus on these steps:
Plan Your Launch Meticulously: Coordinate with your team and create a detailed launch plan that includes a backup strategy and a rollback process in case of critical issues.
Monitor Analytics Intensely Post-Launch: For the first 2-4 weeks, watch your analytics like a hawk. Look for unexpected drop-offs, 404 errors, or performance dips that need immediate attention.
Establish a Feedback Loop: Create a simple way for users to report bugs or provide feedback. This direct line to your audience is invaluable for identifying areas for improvement.
Prioritize Improvements by Impact: You can't fix everything at once. Create a backlog of potential improvements and prioritize them based on which changes will most significantly impact your key business goals.
Implement a Maintenance Plan: Regular maintenance is non-negotiable. This includes security updates, performance checks, and software patches to keep your site secure and running smoothly. This is a core service we provide to clients from Santa Monica to Pasadena.
Continuously Optimize for Search: The work on SEO is never truly done. It’s crucial to monitor local search rankings and adapt your strategy quarterly. A deep understanding of how design impacts search visibility is key, which is why we build websites with a focus on the seo design advantage.
Key Insight: The Implement & Iterate phase solidifies the idea that a website is not a static brochure but a dynamic tool for business growth. By embracing continuous improvement, you ensure your digital presence remains competitive, effective, and aligned with the evolving needs of your users.
6-Step Design Process Comparison
Step | 🔄 Implementation complexity | ⚡ Resource & time intensity | ⭐ Expected outcomes (quality) | 📊 Ideal use cases / impact | 💡 Key advantages / tips |
|---|---|---|---|---|---|
Step 1: Empathize – Understanding User Needs and Business Goals | 🔄 High — in-depth research, stakeholder sessions | ⚡ Moderate–High — researchers, tools, interview time | ⭐ High — validated user needs, fewer revisions, better engagement | 📊 New builds, redesigns, local SEO, conversion-focused projects | 💡 Conduct 5–8 interviews; combine analytics + qualitative research |
Step 2: Define – Creating Clear Problem Statements and Project Scope | 🔄 Medium — synthesis and alignment workshops | ⚡ Low–Moderate — workshops, documentation, decision meetings | ⭐ High — clear brief, KPIs, reduced scope creep | 📊 Projects needing alignment, fixed-budget/timeline work | 💡 Use "How Might We", define 3–5 success metrics, get client sign-off |
Step 3: Ideate – Generating Creative Solutions and Design Concepts | 🔄 Medium — facilitated brainstorming, concept exploration | ⚡ Low–Moderate — cross-functional time, sketching/prototyping tools | ⭐ Medium–High — multiple viable concepts, increased innovation | 📊 UX direction, checkout flows, branding and content presentation | 💡 Timebox sessions, include diverse roles, prioritize against KPIs |
Step 4: Prototype – Building Testable Models and Interactive Designs | 🔄 Medium — fidelity varies from low to high interactive builds | ⚡ Moderate — design tools (Figma/Webflow), dev handoff effort | ⭐ High — validated interactions, fewer development surprises | 📊 Usability validation, responsive design testing, complex flows | 💡 Start low‑fi for core flows; test on real devices and screen readers |
Step 5: Test – Validating Solutions with Users and Gathering Feedback | 🔄 Medium — recruitment, sessions, data analysis | ⚡ Moderate — testing platforms, participant incentives; traffic for A/B | ⭐ High — data-driven refinements, improved conversions & UX | 📊 CRO, accessibility checks, pre/post-launch validation | 💡 Test critical tasks first, recruit real users (5–8 per round), use analytics + heatmaps |
Step 6: Implement & Iterate – Launching Solutions and Ongoing Optimization | 🔄 Ongoing — deployment, monitoring, iterative cycles | ⚡ High — development, maintenance, monitoring tools and budget | ⭐ High — sustained improvements, compounding ROI, better retention | 📊 Long-term sites, e‑commerce, local businesses needing continuous SEO | 💡 Monitor first 2–4 weeks, automate alerts, prioritize high-impact fixes |
Putting the Process to Work for Your Business
Navigating the digital landscape can feel overwhelming, but the structured framework of the 6 steps of the design process provides a reliable roadmap to success. By moving sequentially from empathy and definition to ideation, prototyping, testing, and implementation, you transform a complex challenge into a series of manageable, value-driven actions. This isn't just an abstract theory; it's a practical blueprint for creating digital experiences that resonate with your specific audience, whether they're searching for your legal services in Beverly Hills or your retail shop in Pasadena.
The true power of this process lies in its user-centric foundation. It forces you to move beyond assumptions and build solutions based on real-world evidence and feedback. Each stage is designed to de-risk your investment, ensuring the final product isn't just visually appealing but also functional, intuitive, and aligned with your core business objectives. You catch costly mistakes early during prototyping, validate concepts with actual customers during testing, and build a final product that genuinely solves a problem.
Key Takeaways: From Framework to Function
As you reflect on the journey through the design process, several core principles stand out. Mastering these will give your business a significant competitive advantage.
Empathy is Your Foundation: Never underestimate the value of deeply understanding your user. The insights gained in the Empathize stage inform every subsequent decision, ensuring you're building something people actually want and need.
Clarity Precedes Creativity: A well-defined problem statement is your North Star. Before brainstorming solutions, you must have absolute clarity on the specific problem you are solving, for whom, and why it matters.
Iteration Over Perfection: The design process is cyclical, not linear. Embrace the feedback loop inherent in the Prototype, Test, and Implement stages. Your first launch is the starting line for continuous improvement, not the finish line.
Crucial Insight: The most successful businesses don't just follow these steps once. They integrate this iterative mindset into their culture, constantly learning from their users and refining their digital presence to meet evolving market demands.
Your Actionable Next Steps
Feeling inspired? It's time to put this knowledge into practice. You don't need a massive budget or a dedicated internal team to start benefiting from a structured design approach.
Start Small with Empathy: Choose one key customer segment. Spend the next week actively listening. Conduct two or three informal interviews with existing clients. Ask open-ended questions about their challenges and goals related to your services. You’ll be amazed at what you learn.
Define One Specific Problem: Based on your conversations, identify a single, recurring pain point. Maybe your booking process is confusing for new patients in the San Fernando Valley, or your e-commerce checkout flow frustrates mobile shoppers from Santa Monica. Write a clear, concise problem statement.
Explore a Low-Fidelity Solution: You don’t need complex software. Sketch out a simple wireframe on paper for a new webpage or an improved process flow. This simple act of visualization is a form of ideation and prototyping that can spark powerful new ideas without any financial investment.
For many small businesses, managing all 6 steps of the design process in-house can be a significant challenge. It requires a diverse skill set spanning research, strategy, UX/UI design, and development. This is often where partnering with a specialized agency becomes a strategic investment rather than an expense. An experienced team can accelerate the entire process, bringing a wealth of cross-industry knowledge and proven methodologies to your project. We also extend service through the San Gabriel Valley and farther southeast, working with clients in Alhambra, Whittier, Pico Rivera, Downey, Norwalk, La Mirada, and Cerritos. We also support the South Bay—including Torrance, Carson, Gardena, Hawthorne, Inglewood, and Long Beach—as well as the Gateway Cities and communities throughout the I-10, I-5, 101, and 405 corridors. Whether you’re in a major metro area or a smaller surrounding neighborhood, our team delivers reliable, high-quality service anywhere in or around Los Angeles.
Ready to implement a professional design process that delivers real results for your business? The team at DLL Studios specializes in guiding clients through every one of the 6 steps of the design process, ensuring your final product is strategically designed to achieve your goals. Contact DLL Studios today to start building a digital presence that stands out and drives growth.
